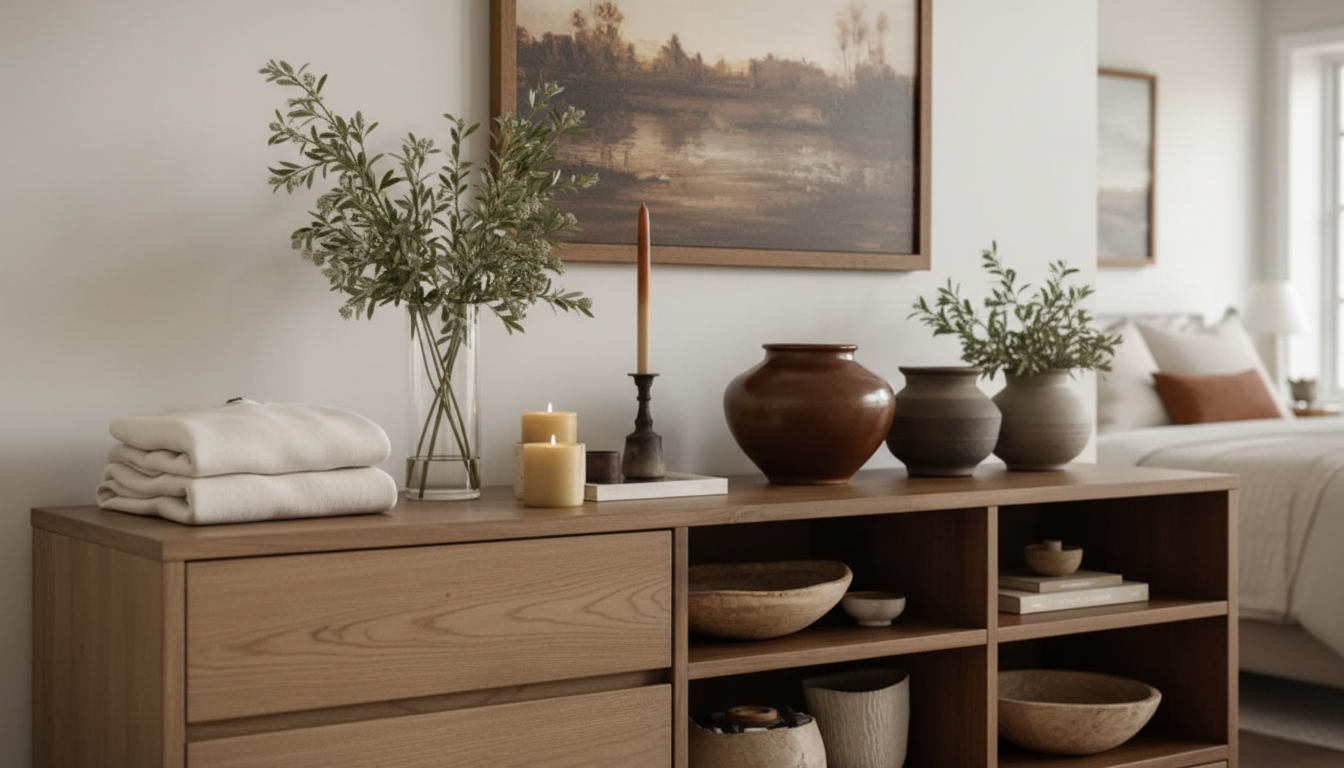
A dresser top can look finished without feeling fussy. A few repeatable rules—height balance, grouped objects, negative space, and one anchored focal point—create a setup that works in minimalist, modern, or bohemian rooms. Once the “system” is in place, it’s easy to reset the surface fast after daily life happens. For more guidance, see Did You Know? – Get Fed Bite Sized Faith – Archdiocese of Santa ….
Before you place a single object, set yourself up for a win: start clean, decide the dresser’s job, and limit the decisions you’ll need to make later. For further reading, see dictionary.txt – UCF Department of Computer Science.
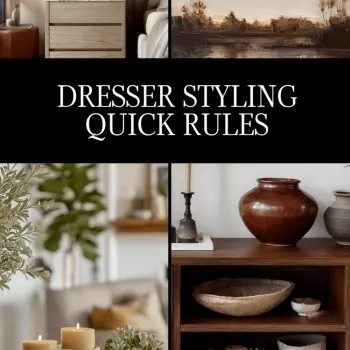
If you want a fast reference you can keep in a drawer, the Dresser Styling Quick Rules Checklist (printable download) is designed for quick resets and repeatable layouts.
Most “effortless” dresser tops follow the same visual logic. Use these rules like a paint-by-numbers kit: they remove the guesswork.
| Step | Do this | Common mistake to avoid |
|---|---|---|
| 1 | Clear the surface and return essentials only | Styling around clutter instead of removing it |
| 2 | Place one anchor (lamp/art/tall vase) | Using several “main” pieces that compete |
| 3 | Add a medium item (stacked books, sculpture) | All items the same height |
| 4 | Add a small item (candle, bowl, plant) | Too many tiny items spread out |
| 5 | Leave 25–40% open space | Filling every inch with decor |
| 6 | Add one functional catchall (tray/bowl) | Multiple catchalls that look messy |
| 7 | Step back and adjust spacing | Ignoring gaps and alignment |
When you’re short on time, use a formula. You can swap the exact objects, but keep the roles (anchor, medium, small) the same.
A simple way to add that vertical element without crowding the top is a wall shelf. The Rectangular wooden wall hanging shelf for plants and decor can hold a small plant or framed photo while keeping the dresser surface calmer.
Two dressers can have the same number of items and feel totally different. The difference is usually scale, spacing, and where the visual “weight” sits.
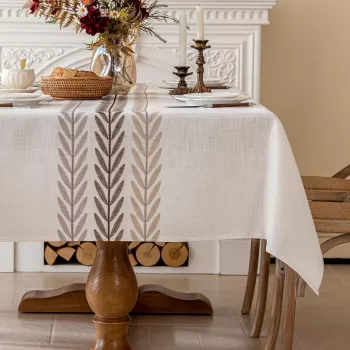
For a softer, layered look (especially in bohemian or cozy modern rooms), a textile can act like a “stage” for your objects—just keep it neat and flat so it reads polished. An option is the Embroidered tassel cotton linen tablecloth used as a folded runner on top of a dresser.
For more foundational decorating principles you can apply across the room, see guidance from The Spruce and browse inspiration from Architectural Digest.
A practical range is usually 3–7 items depending on dresser size, with one clear anchor piece and one functional catchall. The most important “item” is open space—leaving 25–40% of the surface clear keeps it calm.
Treat the mirror as the back layer and keep your tallest piece off to one side, slightly below the mirror’s top edge. Place lower objects in front and keep the center area more open so the mirror still feels usable.
Use a one-tray rule for daily drop zones, then do a 30-second reset each day to return loose items to drawers. Store extra decor as a small capsule set so you’re not constantly adding new pieces to the surface.


Leave a comment