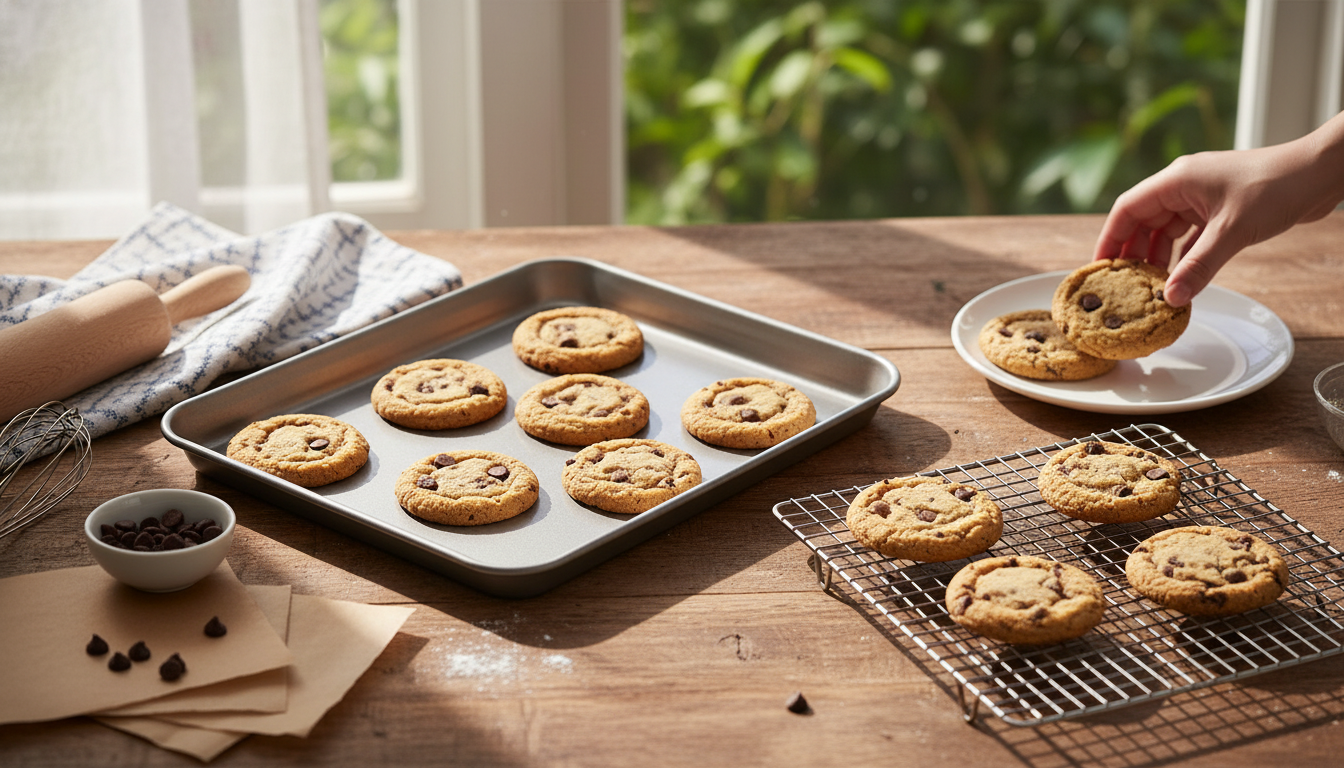
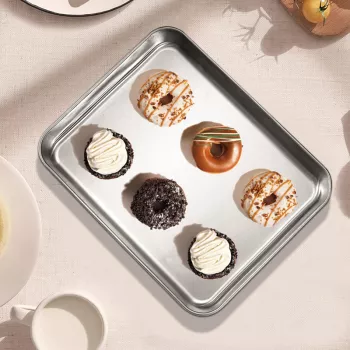
A large-capacity stainless steel baking tray makes everyday oven cooking easier—roasting vegetables, baking cookies, finishing meats, or prepping multiple portions at once. With durable construction and a roomy surface, it supports consistent heat performance and simple cleanup for busy home kitchens.
A spacious tray earns its keep when cooking needs range from quick weeknight meals to weekend baking. The extra surface area reduces the number of batches you need, which helps keep oven temperature steadier and dinner moving faster.
Stainless steel is a practical choice for home kitchens that cook often. It’s designed to stand up to routine heat cycles, and it stays versatile across savory and sweet recipes.
For general cooking safety and handling guidance (including temperature awareness and food safety basics), consult resources like the USDA Food Safety and Inspection Service. For broader information on food-contact materials, the FDA’s Food Contact Substances overview is also a helpful reference.
“Large capacity” is only helpful if the tray fits your oven and storage. A quick check of rack clearance and cabinet space prevents the most common frustration: a pan that’s great on paper but awkward in practice.
| Kitchen need | What to look for | Why it helps |
|---|---|---|
| Sheet-pan dinners | Large flat surface with raised rim | More space for even roasting and less spillover |
| Cookies and pastries | Flat, stable tray that heats evenly | More consistent browning across the batch |
| Meal prep for the week | Large capacity and easy-to-clean material | Cook multiple portions and reduce cleanup time |
| Small oven or compact storage | Measure rack and cabinet space first | Prevents buying a tray that doesn’t fit |
Small technique tweaks can make a stainless steel tray feel “nonstick-adjacent” without relying on heavy coatings. It’s mostly about managing moisture, heat, and contact with sugars.
If baking is a regular routine, practical technique refreshers like King Arthur Baking can help fine-tune results across cookies, pastries, and sheet-pan bakes.
Stainless steel cleans up well when residue is handled early and gently. The goal is to lift oils and baked-on bits without aggressively scraping, which can dull the finish over time.
If the kitchen sees frequent roasting, batch baking, and meal prep, a durable tray makes the whole workflow simpler. The Premium Stainless Steel Large Capacity Baking Tray for Oven & Kitchen Use is built for high-volume home cooking and routine heat cycles, with a roomy surface that helps reduce the number of batches.
For a cohesive kitchen-and-dining setup, pair practical cookware with easy décor upgrades like the Embroidered Tassel Cotton Linen Tablecloth for Dining & Home Decor. And if the kitchen could use a quick refresh, the Cartoon Chef Kitchen Wall Sticker – Fun Self-Adhesive Mural for Home & Restaurant Decor adds personality without taking up counter space.
Yes—stainless steel is commonly used for oven cookware and is generally suitable for typical baking and roasting heat. Follow the manufacturer’s temperature guidance and handle the tray with oven mitts, especially during broiling or high-heat roasting.
Line the tray with parchment paper or lightly oil the surface before adding food. Preheating the oven helps, and using a wire rack can reduce sticking for items like chicken skin or bacon by improving airflow and drainage.
Let the tray cool, then soak it in warm, soapy water to loosen grease. Use a non-scratch scrubber for routine cleaning, and apply a baking soda paste to lift stubborn residue; dry promptly to minimize water spots.


Leave a comment